
Table of Contents
Here comes the little pedicure 1×1:
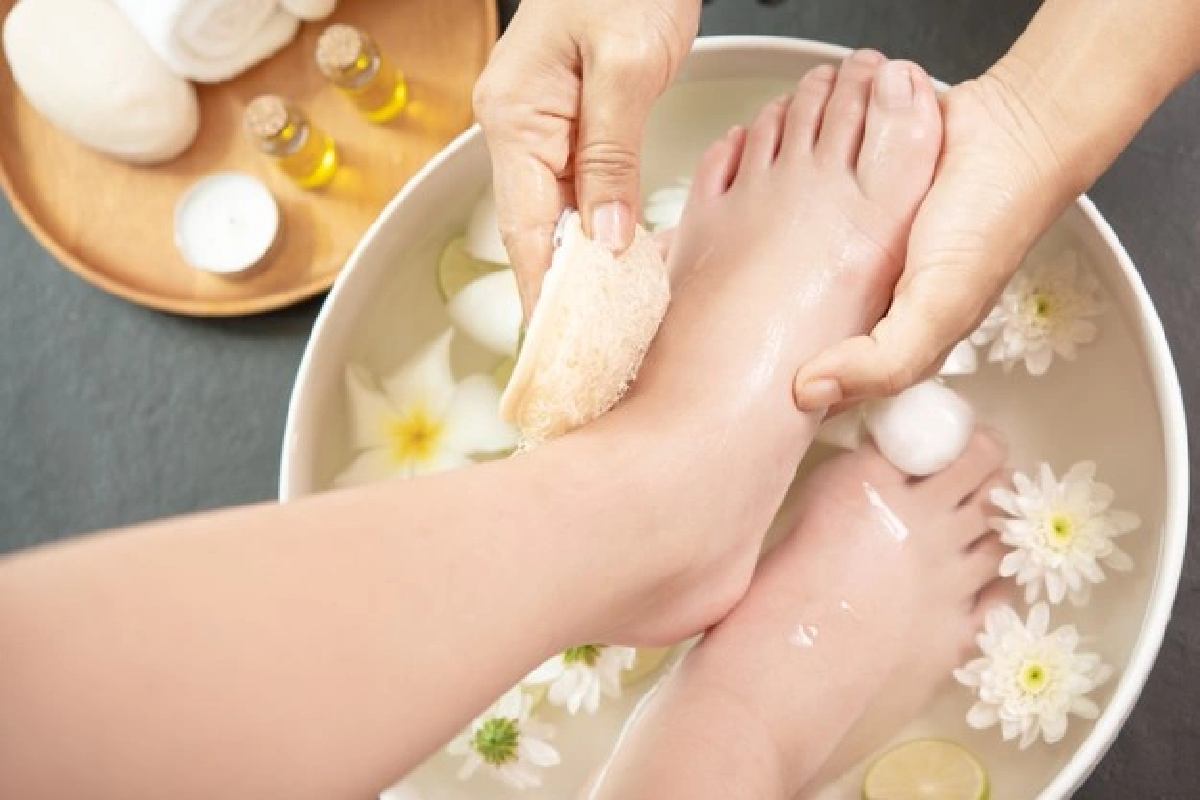
Take a foot bath. And not too hot, otherwise the skin will soften too much. Better: The water temperature should not exceed 38 degrees. Then soak your feet for ten minutes. It relaxes and softens calloused skin and nails. It makes filing easier.
Remove callus. Calluses often develop on the ball of the foot, heel, under the toe, but also on the edge of the nail. The nails are then tricky to cut and pedicure. That’s why the cornea has to go. Preferably with a pumice stone or an electric callus rasp (now available in every drugstore).
Shorten. Now it is radically shortened, with the nail scissors. Because protruding nails do not look good on the feet – unlike on the hands – and make them appear rather unkempt.
Files. And now the file can finally be. Polish briefly over the nails to even out any grooves – this will also make the nail polish look more even afterwards – and then run over the sharp nail edges again. Ready.
Push away cuticles. You can use a rosewood nail stick to push down the cuticles along the edges gently. It makes the nail look clean and more prominent.
Clean. Before painting, the feet must now be freed from any nail and skin residue. Again, it’s best to rub it off with a towel.
Varnishing. Now colour finally comes into play. Before you get started, however, you should first put a bit transparent base coat on the nails for nail care, and then the nail polish can be varnished. Finally, to ensure that everything is rock-solid, you should seal your nails with a bit of topcoat.
If you prefer a subtle colour for your finished pedicure, this milky white nail guide offers inspiration for creamy and translucent finishes. Use the colour ideas separately from any instructions intended specifically for acrylic enhancements.
Cream your feet. A good foot cream should not be missing from a perfect pedicure. It not only prevents cornification but also cares for the feet.
Tips & tricks for an even better result:
- Use soft files like an emery board or glass. Since the water softens skin and nails, there is an acute risk of injury if the files are too complicated.
- There are now even calloused socks for those who don’t like pedicures. Just put it on, leave it on and away you go.
- If you want to keep your feet soft all the time, put lotion on them in the evening and put them in cotton socks overnight. So the care can move in better.
Separate Reading: Grooming Tools
For readers also comparing personal grooming equipment, this BSC trimmer overview discusses attachments, charging and other product features. A body trimmer serves a different purpose from the tools used for toenail and foot care.
Separate Reading: Hair Removal Planning
If your wider grooming research includes hair removal, explore this introduction to multi-area treatment plans. It considers appointment organisation and maintenance across body areas, independently of the pedicure routine described above.